

Steam Link has changed the way I game around my house, but to get the most out of my PC while on my phone, that’s just the tip of the iceberg.
The next logical step for most is Moonlight. It’s an app built on the back of Nvidia’s GameStream protocol and it allows you to stream anything from your PC. It’s focus is on games, but unlike Steam Link, Moonlight lets you access your full Windows desktop remotely as well.
Due to the open nature of Moonlight, there are also clients to stream to a ton of devices. This includes all phones, the Wii U, Vision Pro, Raspberry Pi, and some smart TVs.
While Moonlight itself has several improvements over Steam Link, since it’s an open-source project, other developers have been able to build even better versions of it. There are two notable ones, Artemis, and Razer Game Streaming.
Both of these forks can convince your PC that your virtual device is another monitor letting you play games at your device’s native resolution. This has been a big update for me since I like to play on the weird aspect ratio of the OnePlus Open. With Steam Link I could set my game to cover about 90 per cent of my screen, but with Artemis (named after the Greek goddess of the moon, get it?) games use all of the large foldable. The Razer app does the same thing, but I wasn’t able to get it working on the Open. That said, Jon has been able to use it a lot on an iPad with better results.
Some games are a little weird, for instance on the square display the first Red Dead Redemption looks good, but the options menus are too long to fit within this aspect ratio. It’s a small bug and it doesn’t take away from the gameplay, but these issues are likely to pop up the more you try to play games on unorthodox screens.
The hard part (setup)
If you want to use Moonlight/Artemis/Razer game streaming you first need to install a client on your host PC. The default version is called Sunshine, but if you want to use Artemis you need an upgraded version called Apollo (named after the goddess Artemis’s twin, the god of sun and light, Apollo). This version is backwards compatible with Moonlight so it’s the option I’d recommend for most people. If you want to use Razer’s option you need to download its Cortex app.
The way to remember this is that apps named after the sun are for hosting on your PC, and the apps named after the moon, are for remote clients like the Apple TV or your phone.
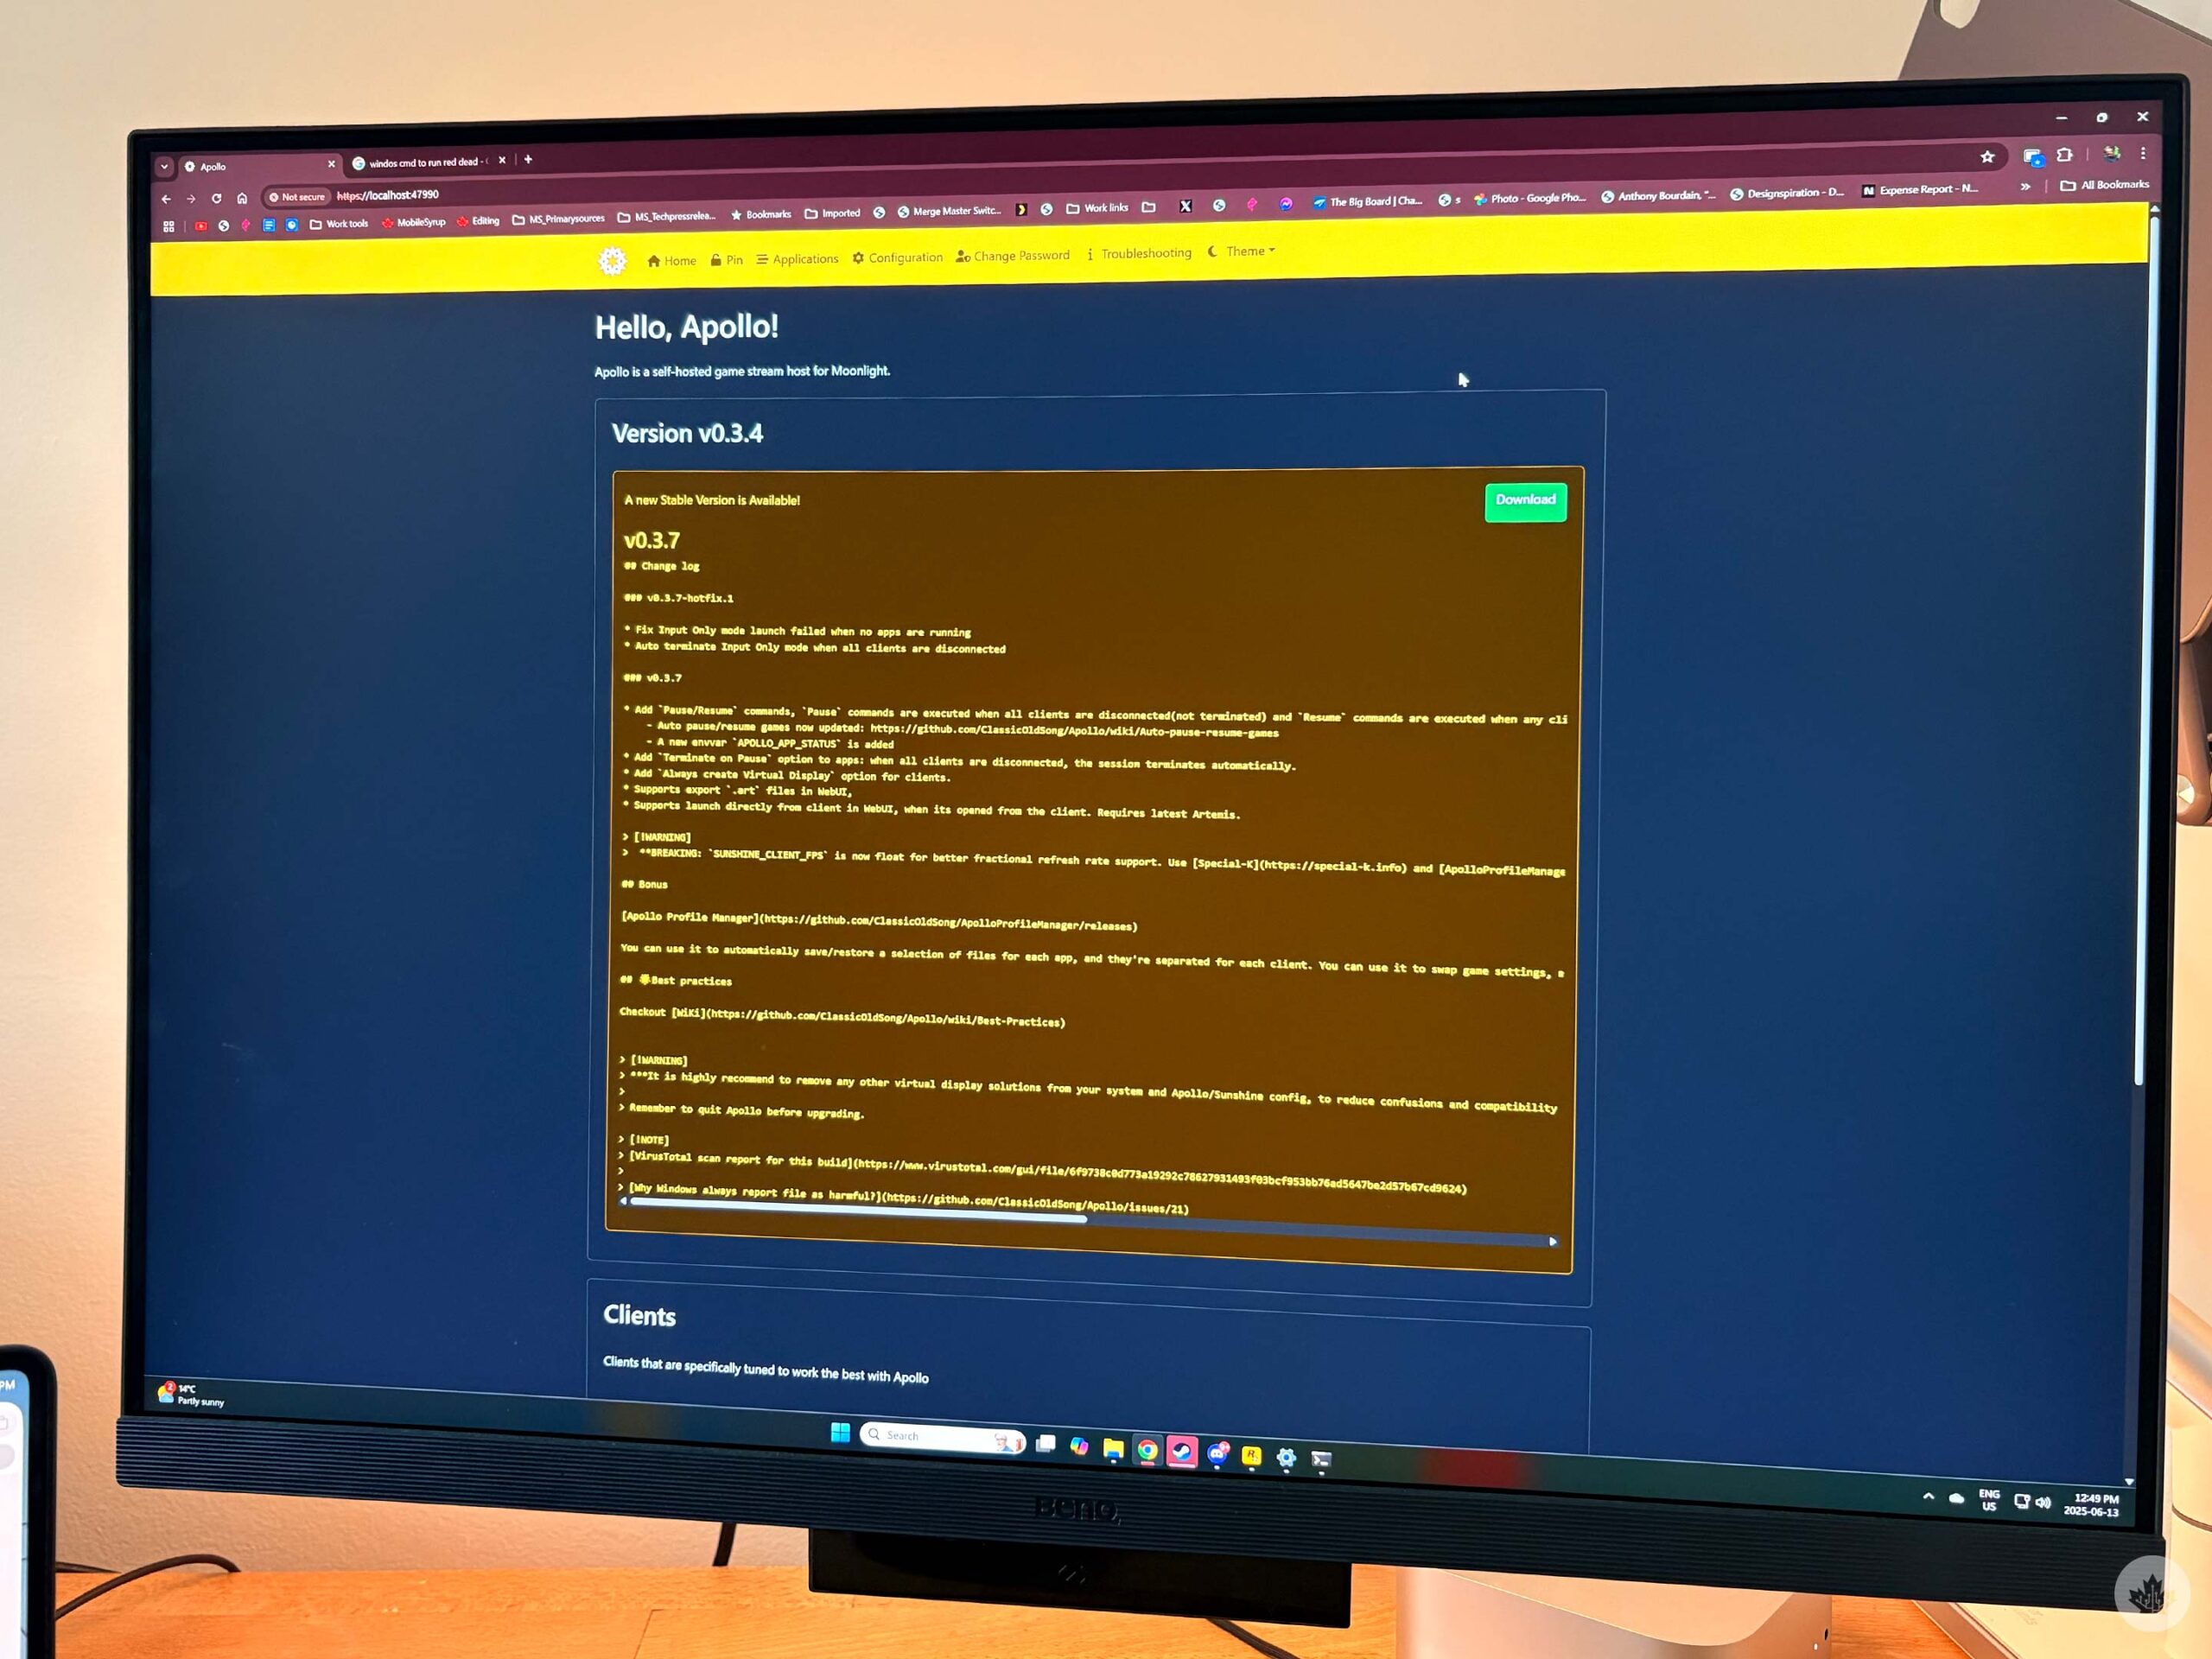
For this story, I’m going to focus on Apollo, but setting up Sunshine is almost exactly the same. To download Apollo grab the latest release from this GitHub and install it on your PC. Once installed, open it up and you’ll see a little Apollo icon in the System tray at the right end of the Taskbar. Right-clicking on this and opening it will launch your web browser which is where you do most of the configurations.
You’ll need to sign in with a username and account the first time, but it will be more streamlined after that. You might also get a popup telling you that the site is unsafe, but you can bypass that.
Then you need to download Moonlight or Artemis (Android only for now) on the device you want to play on. I used Artemis on my OnePlus Open since I needed the auto-adjusting screen for that device, but I need to use Moonlight on my Vision Pro because there is no Artemis client in the headset. That said, the visionOS Moonlight client is still in Testflight so you won’t find it in the Vison Pro App Store.
Either way, all the versions connect to your host PC the same way – Let the app scan your local network for the PC, and when you see it’s name pop up, select it. This will prompt a notification to appear on your Windows PC. Click on it and then enter the PIN shown on your phone screen. The first device you connect should just work perfectly. However, for any others, you’ll need to manually approve most of the permissions.

Whenever I set up a new device I make sure to turn on all the options (green boxes) just in case.
On the same ‘Pin’ screen within Sunshine/Apollo you’ll see your list of connected devices. If the string of numbers to the left of the name of your device is blue, you’ll need to manually turn on ‘Launch Apps,’ and ‘Controller Input’ at the very least. Generally, I just turn everything on just in case. Once you do this the numbers should turn from blue to red signifying that it’s ready to start streaming.
Other perks and tips
Before you start streaming you can adjust a few settings on your mobile app to help make things stream smoother. You can also set a target resolution, and I’ve been able to stream in 4K while wearing my Vision Pro. However, I should note that my PC is hardwired to my modem which supports Wi-Fi 6E so I am running with a setup that’s pretty close to the best case scenario.
You can stream outside of your local network, but there is more setup involved. When doing this make sure your streaming bitrate is at least 1Mbps lower than your internet’s average upload speed.
Using the ‘Application’ section in the Apollo/Sunshine app you can make shortcuts to the games you want to play allowing you to bypass game launchers. This takes some tweaking, but if you’re familiar with launching games via the Command Prompts this will be easy for you.
If you’re having issues with the game streaming consistently, try and head into the settings on your mobile device and tweak the bitrate, resolution, and frame pacing. You can also try changing the codec settings since differant codecs might work better on different devices.
MobileSyrup may earn a commission from purchases made via our links, which helps fund the journalism we provide free on our website. These links do not influence our editorial content. Support us here.


")


